(Circle of LabVIEW: Part 4 of 6)
This is Circle of LabVIEW: Development, the fourth of a series of blog posts that describe different stages of the LabVIEW project lifecycle from idea to market. Although reading them in order will help understanding the bigger picture, each blog post is self-contained with a small section regarding the "RT Installer," a kind of sample product used in this series.
In the previous step, we ironed out the scope and defined a set of requirements to which we could then use to plan development and communicate progress to the client.
The development process is often a function of how the project or product will be validated once functionality has been verified. For products, we find that iteratively putting together functionality that can be experienced by you, our client, makes it easier to communicate project status while with a project. Development is front loaded with fewer updates until enough of the development has been completed to give regular updates.
The development process is also a function of the requirements document. Although a requirements document won’t capture everything that needs to be implemented, it often will infer what needs to be programmed and where. When we design requirements documents, we do so with the idea that they allow us to objectively verify functionality, but they don’t constrict the development process unnecessarily. A requirements document can be used to create development milestones.
Development milestones can be used to schedule and organize what functionality should be implemented as well as when to provide milestones for billing. Often on fixed-bid projects, for a client, it’s hard to invest and not have anything to show for it until the very end. With milestones, developers can complete functionality toward that milestone, present it to the client while verifying functionality, and upon acceptance, invoice. When the invoice is paid, we can provide the source code or working application demonstrating that functionality.
As developers, we understand that the interface makes the application. An attractive or ”finished” looking interface will communicate that the project is almost done. We try to strike a balance between a functional interface and a completed interface. Often, we will complete an interface only enough to allow us to demonstrate underlying functionality. This serves two purposes:(1) it communicates that the application is still a work in progress; and (2) it allows the client an opportunity to develop opinions about the interface.
Like the conception phase, it’s hard to know what you want until there’s something to see. Waiting until the end to finish the interface allows efficient back and forth to get it as close to the idea as reasonable. During development of the "RT Installer," our interface went through a couple of changes.
The initial interface was very functional, and it gave us an opportunity to lay out what functionality we wanted and to test that it worked as expected.
As we got seat time with the application, we thought of different ways to organize where things were located and streamline core functionality.
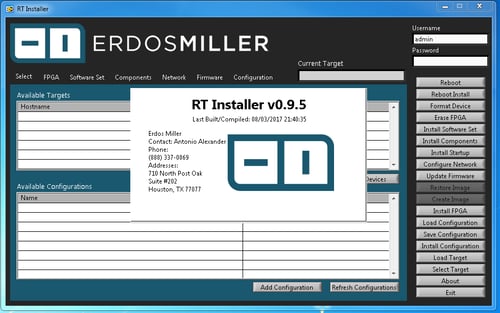
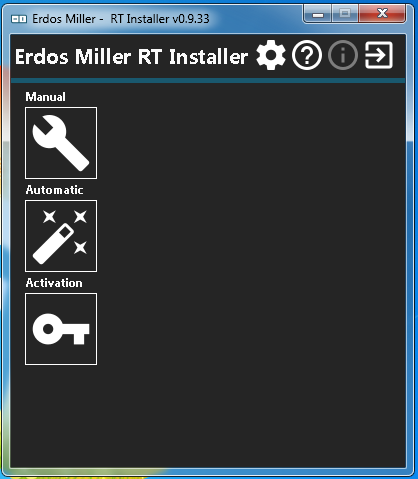
About: Initial Version
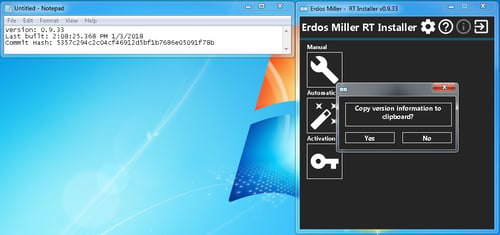
About: Final Version
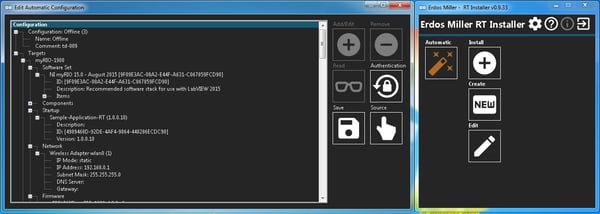
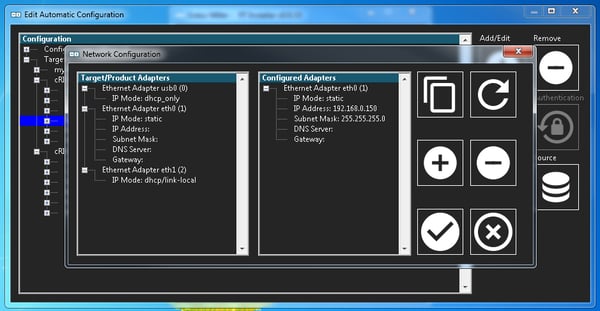
Configuration: Initial Version
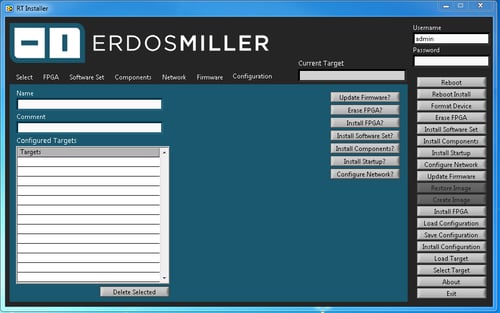
Configuration: Final Version
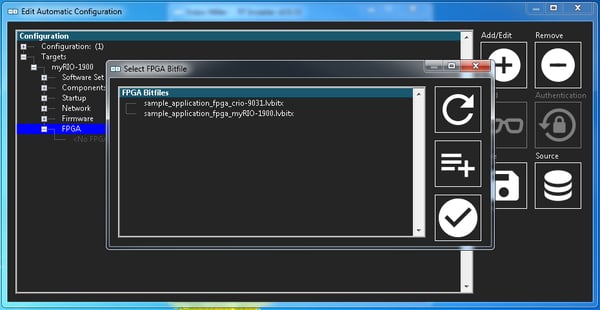
FPGA: Initial Version
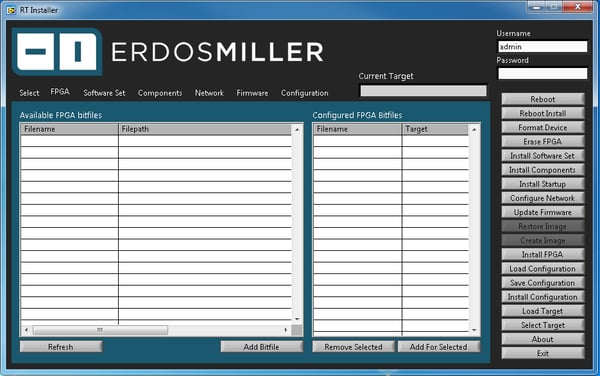
FPGA: Final Version
Navigation: Initial Version
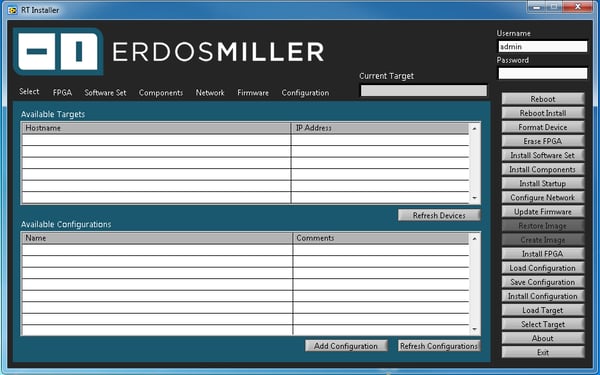
Navigation: Final Version
Network: Initial Version
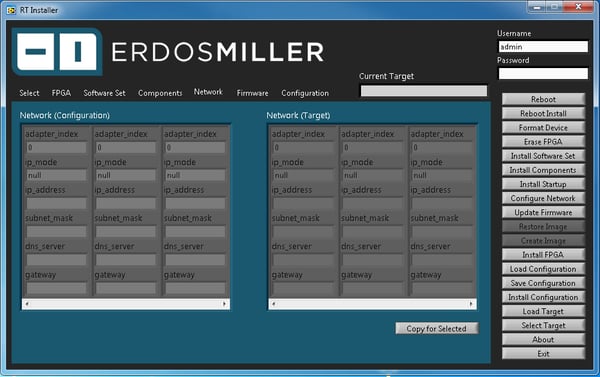
Network: Final Version
Initial Version (Flow)
Final Version (Flow)
We’ve included video showing the early workflow of the "RT Installer" before and after v0.9.7. We’ve also included notes taken during in an attempt to provide further insight into the development process here.